Chessboard Cake

Serves 10-12
It's only when you cut into this cake you reveal it's magic! This technique can be used with sponges of different colours and flavours.
Ingredients:
Vanilla Sponge (2x 6 inch cakes):
175g unsalted butter
175g caster sugar
3 large eggs
175g self-raising flour
1.5 tsp baking powder
2 tsp coconut or vanilla essence (optional - or use another flavour!)
Chocolate Sponge (2x 6 inch cakes):
175g unsalted butter
175g caster sugar
3 large eggs
150g self-raising flour
50g cocoa powder
1.5 tsp baking powder
2 tbsp milk
2 tsp coconut or vanilla essence (optional - or use another flavour!)
Whipped Chocolate Ganache:
100ml double cream
230g dark chocolate
175g unsalted butter
To decorate:
12 Lindt Lindor Balls - I find a simple decoration is best to really show off the design on the inside!
Method:
The Sponges:
Make sure all your ingredients are at room temperature.
Preheat the oven to 180 C (fan) and grease and line 2x 6 inch cake tins.
Cream the butter and sugar with an electric mixer or hand whisk until really pale and fluffy.
Add the eggs one at a time, mixing in between each addition, and then sift in the flour and baking powder.
Add any flavouring you are using and mix thoroughly until you have a smooth batter. Don't over mix, so stop as soon as it is ready.
Divide the mixture evenly between the two tins. If you want to be really careful, you can weigh each tin to make them equal. You will end up trimming the tops of the cake, but the more even the cakes, the neater the chessboard pattern will be.
Bake for around 20-25 minutes until golden and a knife comes out clean.
Remove from the oven and leave to cool in the tin for 10 minutes, before removing from the tins, and leaving to cool fully.
Meanwhile, prepare the batter for the chocolate cake. If you are re-using the tins from the vanilla cake, wait until the first cakes are baked before preparing the next batter.
Repeat the same process for the chocolate cake - cream the butter and sugar and add the eggs (one at a time), sifted flour and baking powder.
Add the cocoa powder, the milk and flavouring and then mix until fully incorporated.
Divide the batter between two tins, and bake for around 20-25 minutes, or until a knife comes out clean.
Remove from the oven and leave to cool.
Whipped Ganache:
While the cakes are cooling, prepare the ganache - melt the butter, chocolate and cream in a bowl over a pan of simmering water (do not let the bottom of the bowl touch the water).
Once fully melted, leave to cool and as it cools it will firm up.
Once it has cooled to room temperature, cover the bowl and place it in the fridge for around 30 minutes - you want it very firm, but not completely solid. It should be at a consistency that you can still scoop it out with a spoon.
To whip the ganache, whisk with an electric mixer until the ganache goes paler and fluffier, this makes for a great consistency to cover the cake!
Once the cakes are cool, you can start to create the chessboard pattern.
Creating the chessboard pattern:
The pattern is achieved by cutting out rings of cake and creating sponges of alternating rings of colour, which are then stacked in a way that when cut into a cross-section, reveal a checked pattern (see the photo below!)
When creating this pattern you need to think about the diameter of your cake, the number of layers and the size of the rings, hence why I have used a 4 layered, 6 inch cake. This works perfectly to achieve the pattern of 'perfect' squares.
When slicing into the cake you will have a radius of 3 inches, so a 2 inch ring, and a 4 inch ring, with each layer a height of 1 inch, will give you this perfect chessboard pattern. If you're confused, head to my Instagram highlights for a video on how to make this! It's much easier to watch!
First of all, you need to level the cakes. You want each sponge to be 1 inch thick. The cakes will have domed in the oven, so in trimming off the top of the cake to remove the dome, this will leave you with roughly 1 inch, but use a ruler to check and trim accordingly.
Do this with all 4 sponges so when stacked, you have 4 even and level cakes.
Cut each sponge into rings using a 2 inch and a 4 inch round cutter. If you don't have cutters, you could cut out paper templates and carefully cut around them, although you will need to be neat to achieve the perfect squares!
Once you have cut out the sponge rings, place the rings back into the sponges in alternating colours (see below). This is what will give you the chessboard pattern.
Assembling:
Stack the cakes, alternating between the predominantly chocolate and vanilla sponges, using a thin layer of ganache in between each layer. You want to use less ganache than you would normally use when sandwiching cakes together as you don't want to create too thick a layer between each sponge, as this would disrupt the squared pattern. The ganache is mostly important for keeping the cakes together.
Use the ganache to 'crumb coat' the cake. Scrape any excess ganache off and then place the cake in the fridge for 15-20 minutes so the ganache firms up. This is important when making a cake with 4 layers - you don't want them to be sliding around while you ice them, so by setting the ganache first you are making life a lot easier for yourself.
Once the crumb coat has set, cover the cake with the rest of the ganache (although you should have some remaining) and smooth the sides with a palette knife or cake scraper.
Keep re-applying then scraping the ganache until the sides are straight and smooth. This isn't necessary, but it certainly is satisfying! If you heat up the cake scraper or palette knife with some boiling water (make sure you dry it), it helps to get the sides really smooth. This does take some practice!
Decoration:
With a cake that has insides as mesmerising as this, I think simplicity is the key for decoration here. I used the leftover ganache to secure some Lindor balls on top. The cake might look quite plain to anyone who doesn't know what's inside, which is what makes it so cool!
Notes:
Play around with colours and flavours - with a 6 layered cake, you could even create a more complex 3 coloured pattern!
The neater you are with your layers and rings, the neater your pattern will be. Take care here and do not rush. Use a ruler to measure the width of each sponge, and take care to cut the rings in the same place each time on each sponge.
If you are using different sized cake tins, you will need to adjust the ring size and cake height to still achieve the squared pattern.
Head to my Instagram Highlights @alice.fevronia for a video on how to make this cake, and if you give it a go, tag me, I'd love to see!

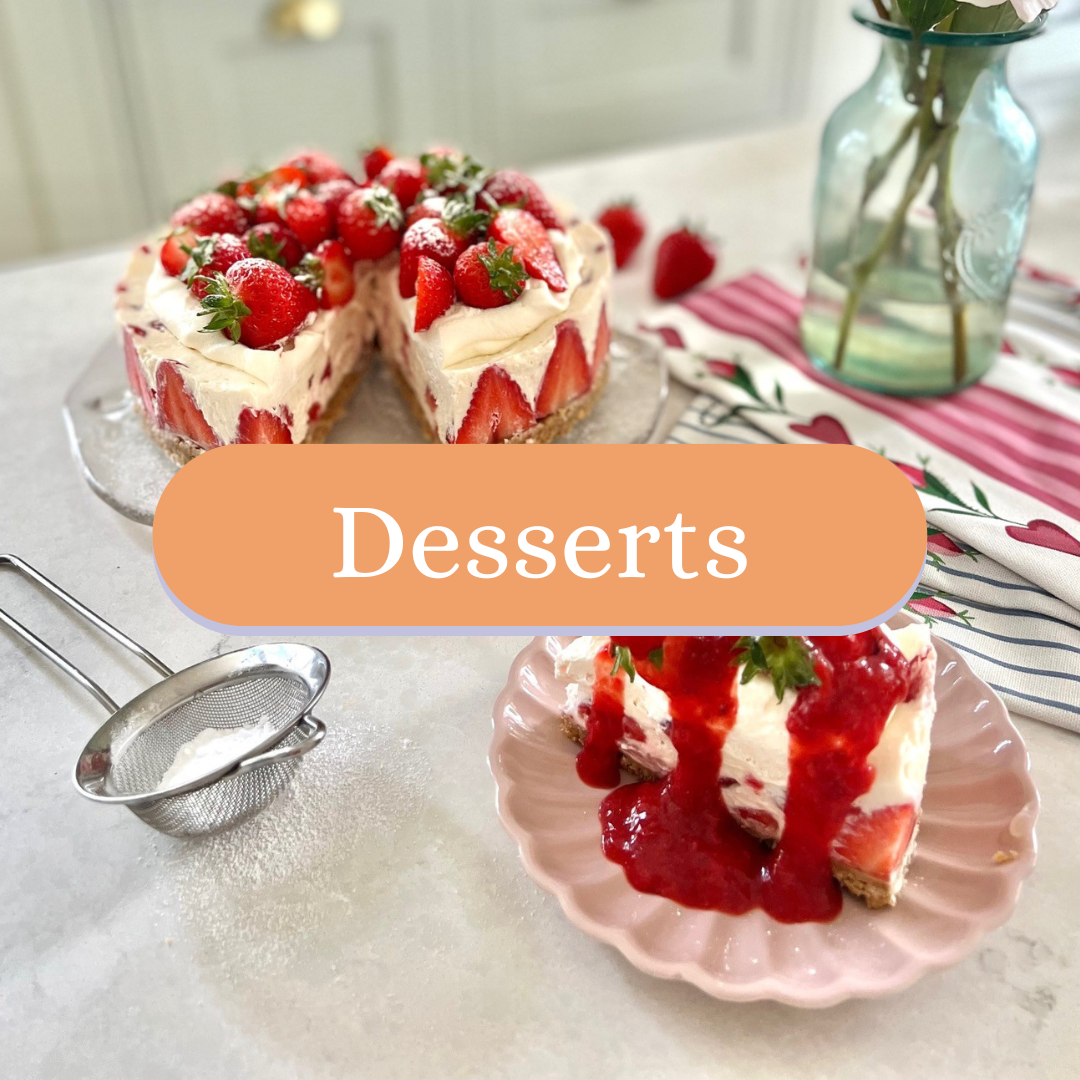
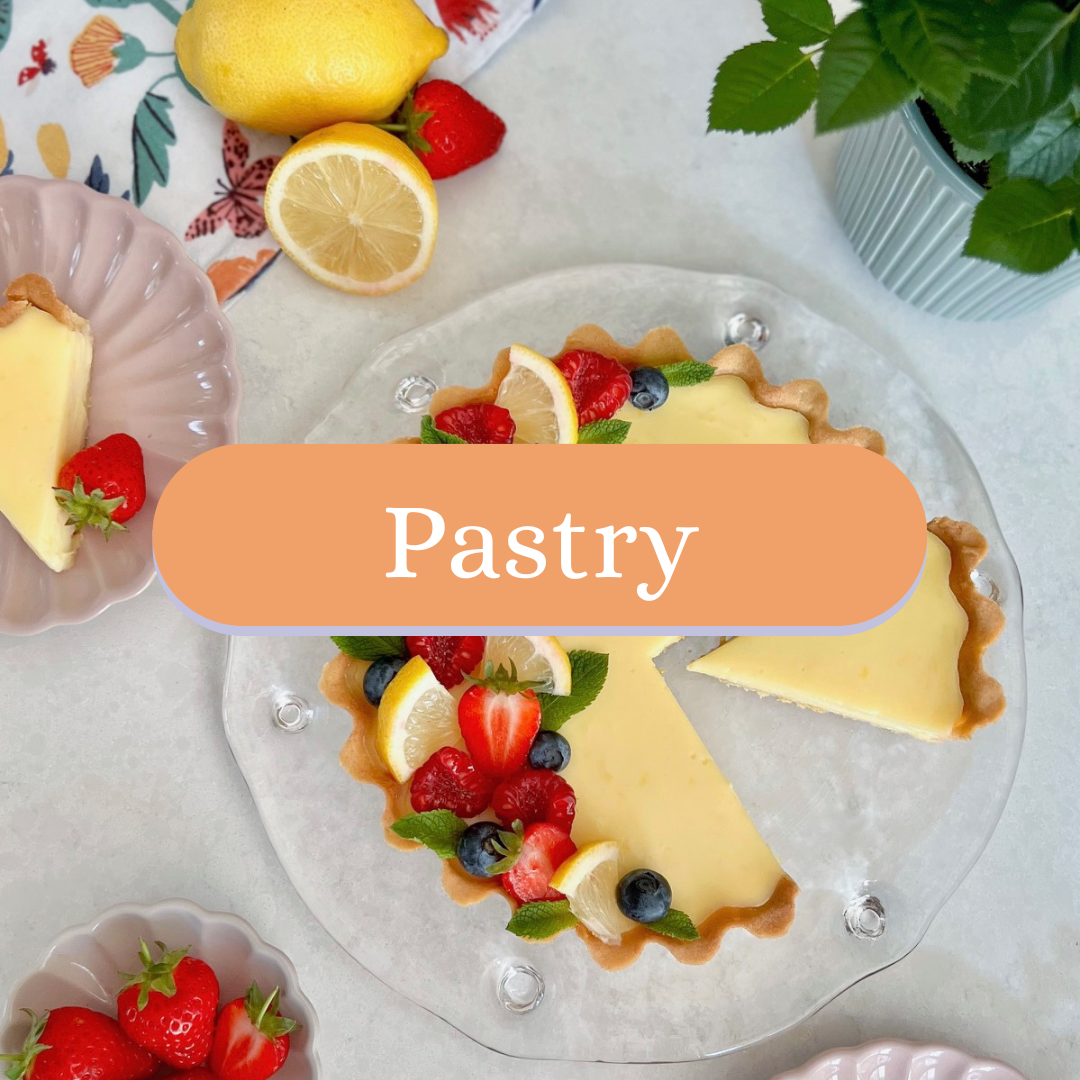
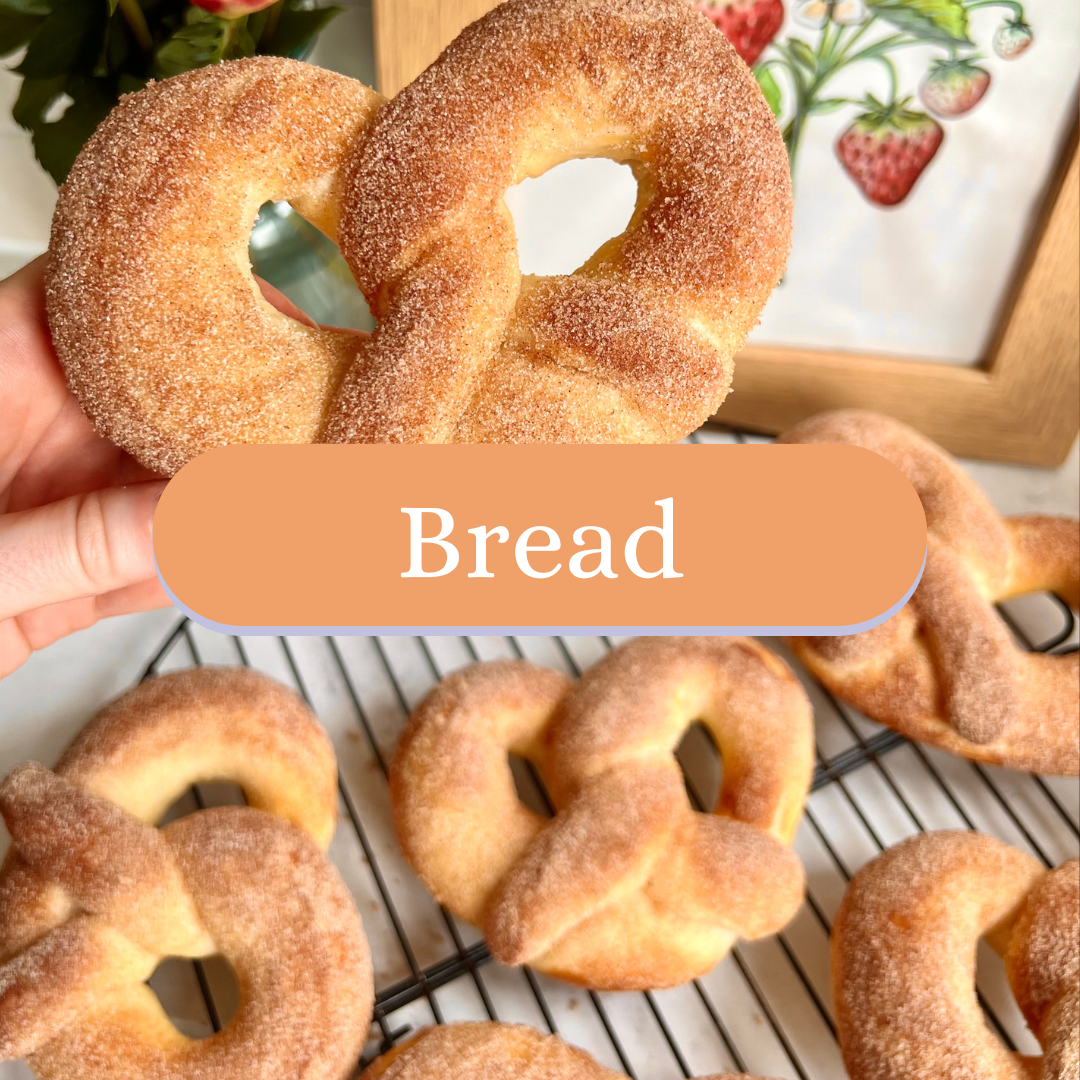
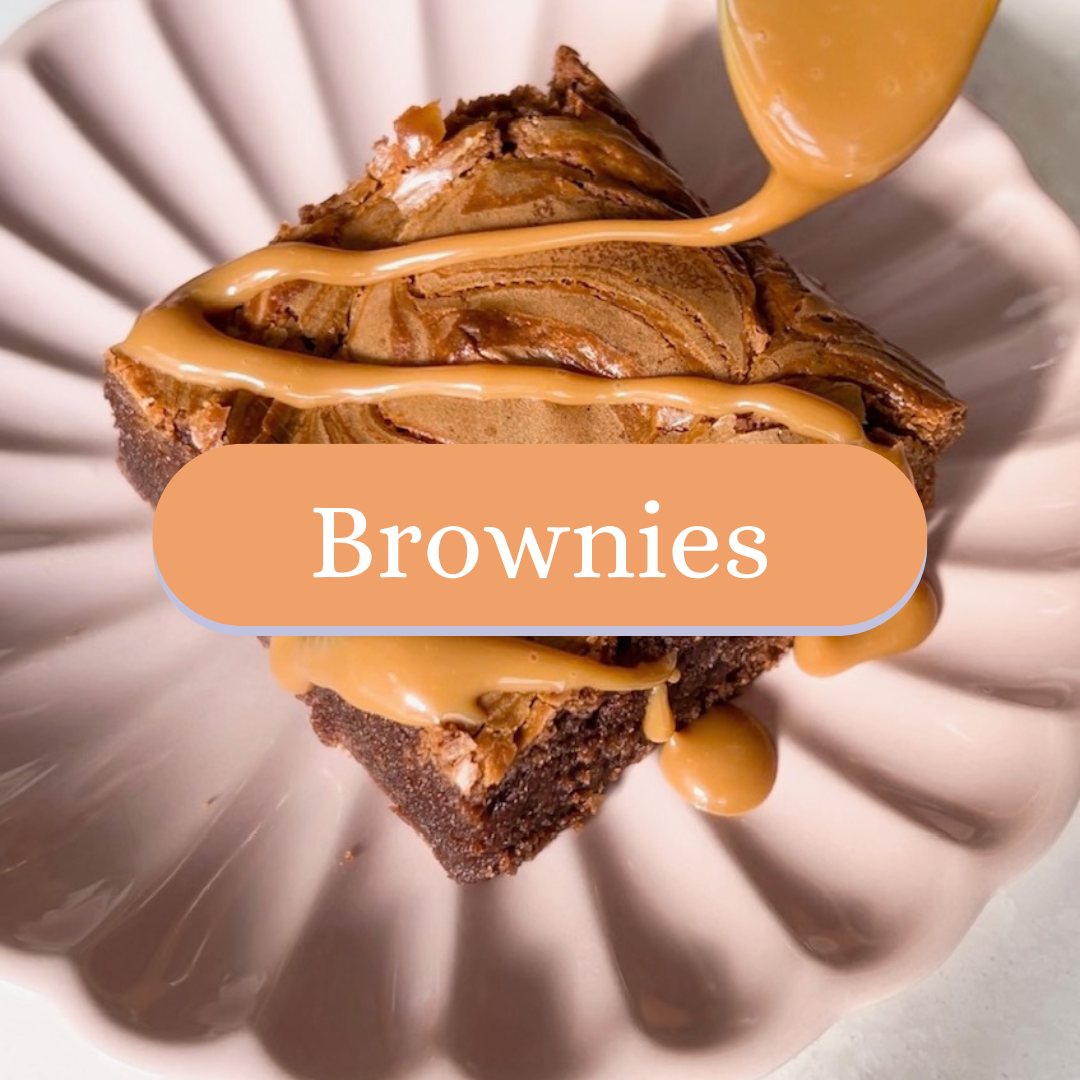
Explore More Recipes